CNC Router - Part 3/4
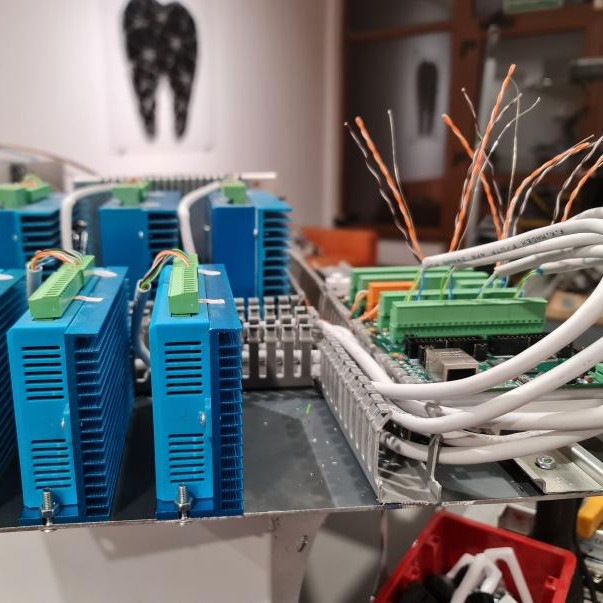
Moving to a new home, setting up wiring on the router and building the electronics enclosure, wiring in limit switches, and cleaning up the build.
This is part of a 4-part writeup
Part 1 - Table and Prep
Part 2 - Construction
Part 3 - Wiring
Part 4 - Tuning and Upgrades
New Home
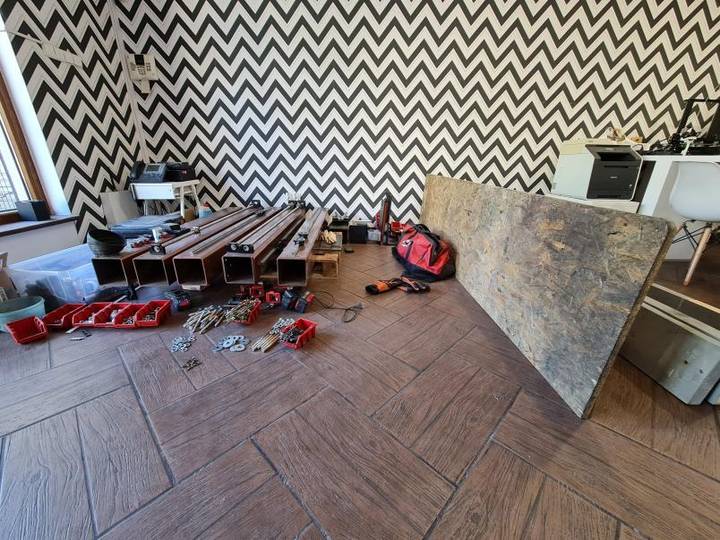
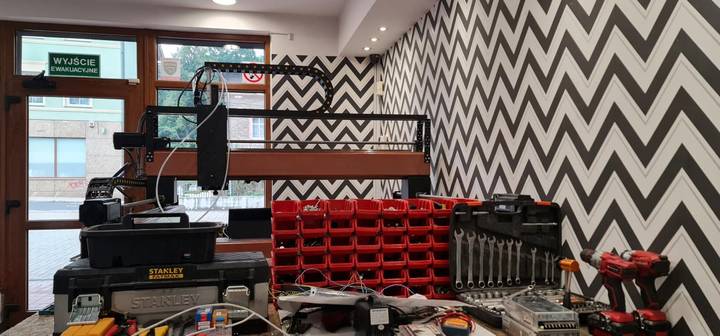
Then I got to disassemble the PrintNC again, and the workbench, and move it to its new (and hopefully final) home in the dental lab
Cable Chain
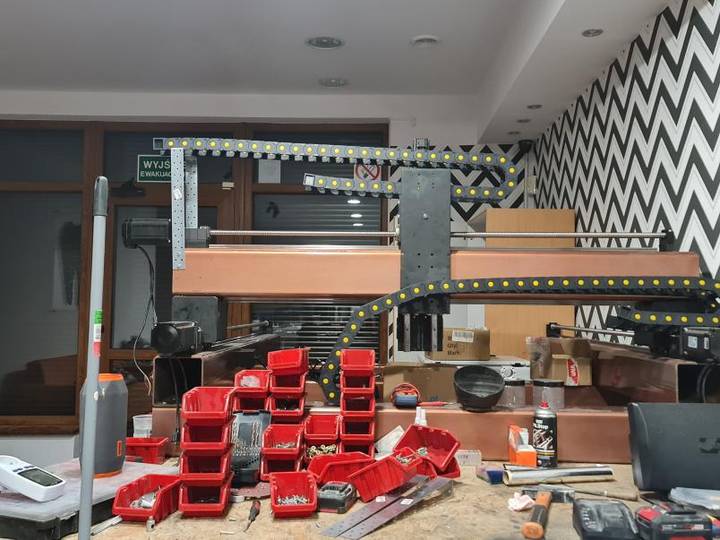
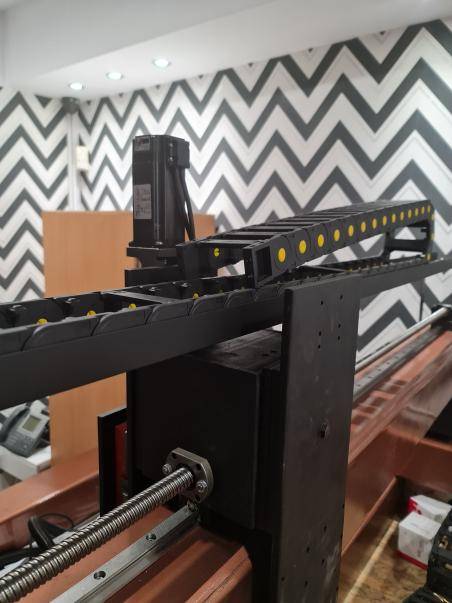
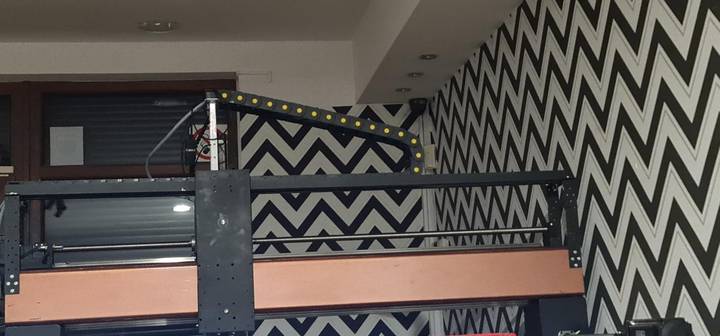
Original plan was to run the cable chain above (where it could be hung from the top of enclosure) and circle down to the machine, although after some trouble in keeping it mounted well I ended up abandoning this plan
The cable chain needed to be centered above the Z axis, since placing it on the back side wasn't an option if I am running a 2nd Z axis here down the road
Electronics Enclosure
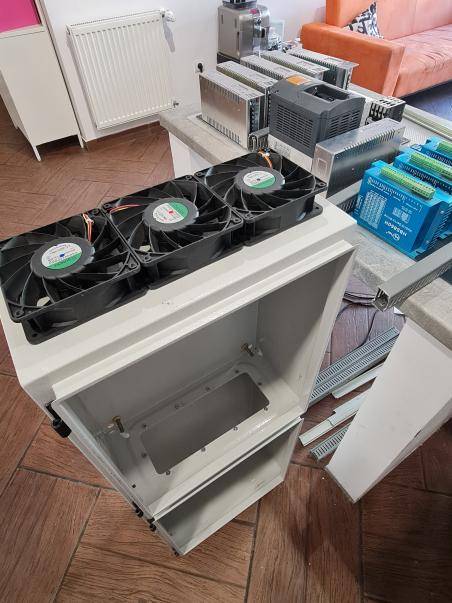
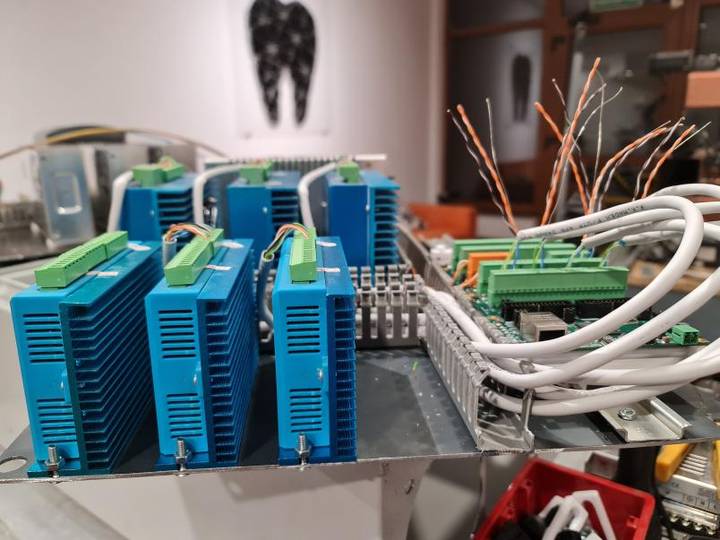
I was able to get two smaller electronics enclosures from Farnell for cheap, which I then joined and began laying out electronics
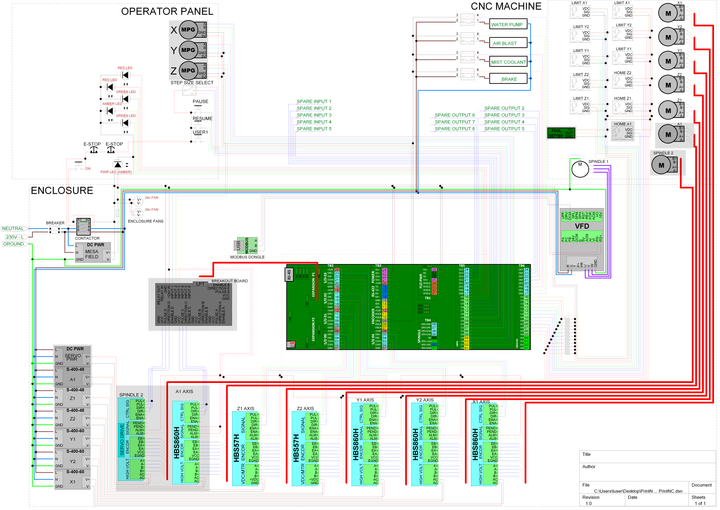
Wiring Diagram
I put together a tenative wiring diagram in TinyCAD, to help me wrap my head around both my current wiring, as well as the future changes I intend to make and capabilities I intend to add
Then began the wiring
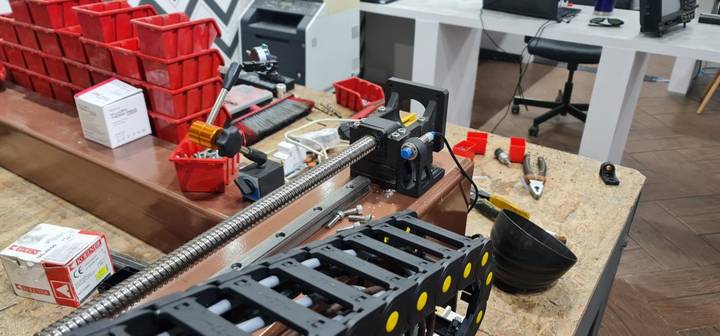
I also flipped the cable chain around for the X axis
Limit Switches
For limit switches, I printed some custom mounts that fit alongside the HM mounts and trigger off the faceplate of the roller
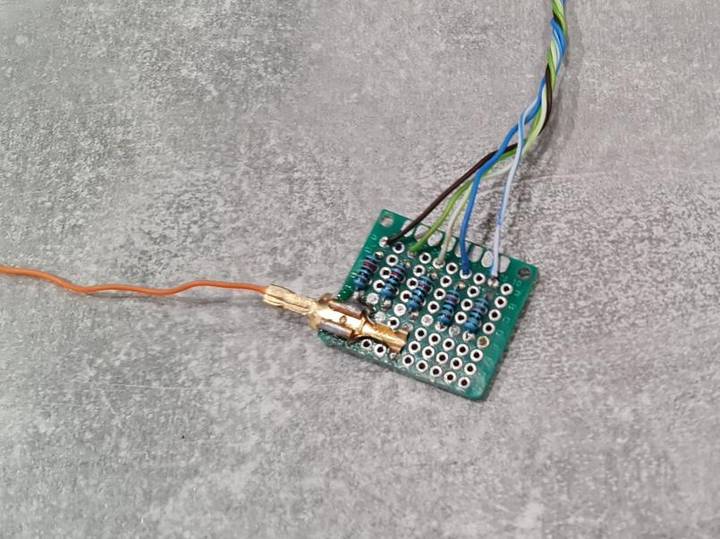
Since they were NPN NO (not ideal, but it was a mistake I made when ordering homing sensors), I needed to put together a small board with some pullup resistors. I ended up replacing these and doubling up with two 10k resistors that are 0.25w each, giving me an effective 5k resistance with 0.5w
I simply pluge the lower left lead into +24v and the output from each resistor into the inputs for the Mesa 7i76e that I'm using in parallel with the home sensors. This causes the sensors to read 24v when not triggered, and 0v when triggered.
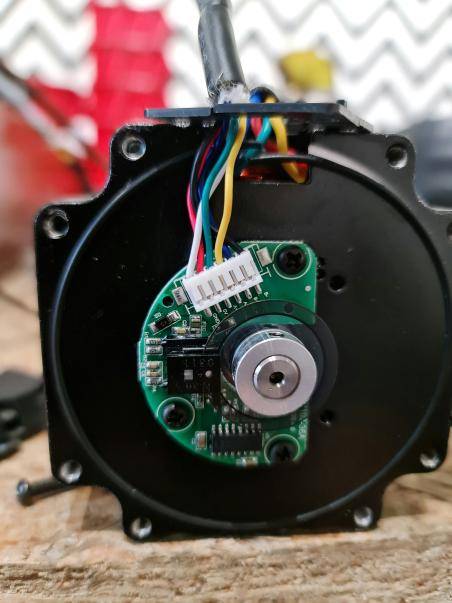
I'm using closed loop steppers, but a couple of them had issues with the encoder feedback - it turns out there were chips (!!!) inside the enclosure that you can see sitting on the encoder wheel. Using what are basically lint-free q-tips, I cleaned every encoder wheel as a result, and then things worked properly.
Spacers for Cable Chain
I wasn't happy with the radius for my cable chains, so I printed some spacers to bring them to a nice radius and keep things looking clean.
