Robot Tank - Part 2/2
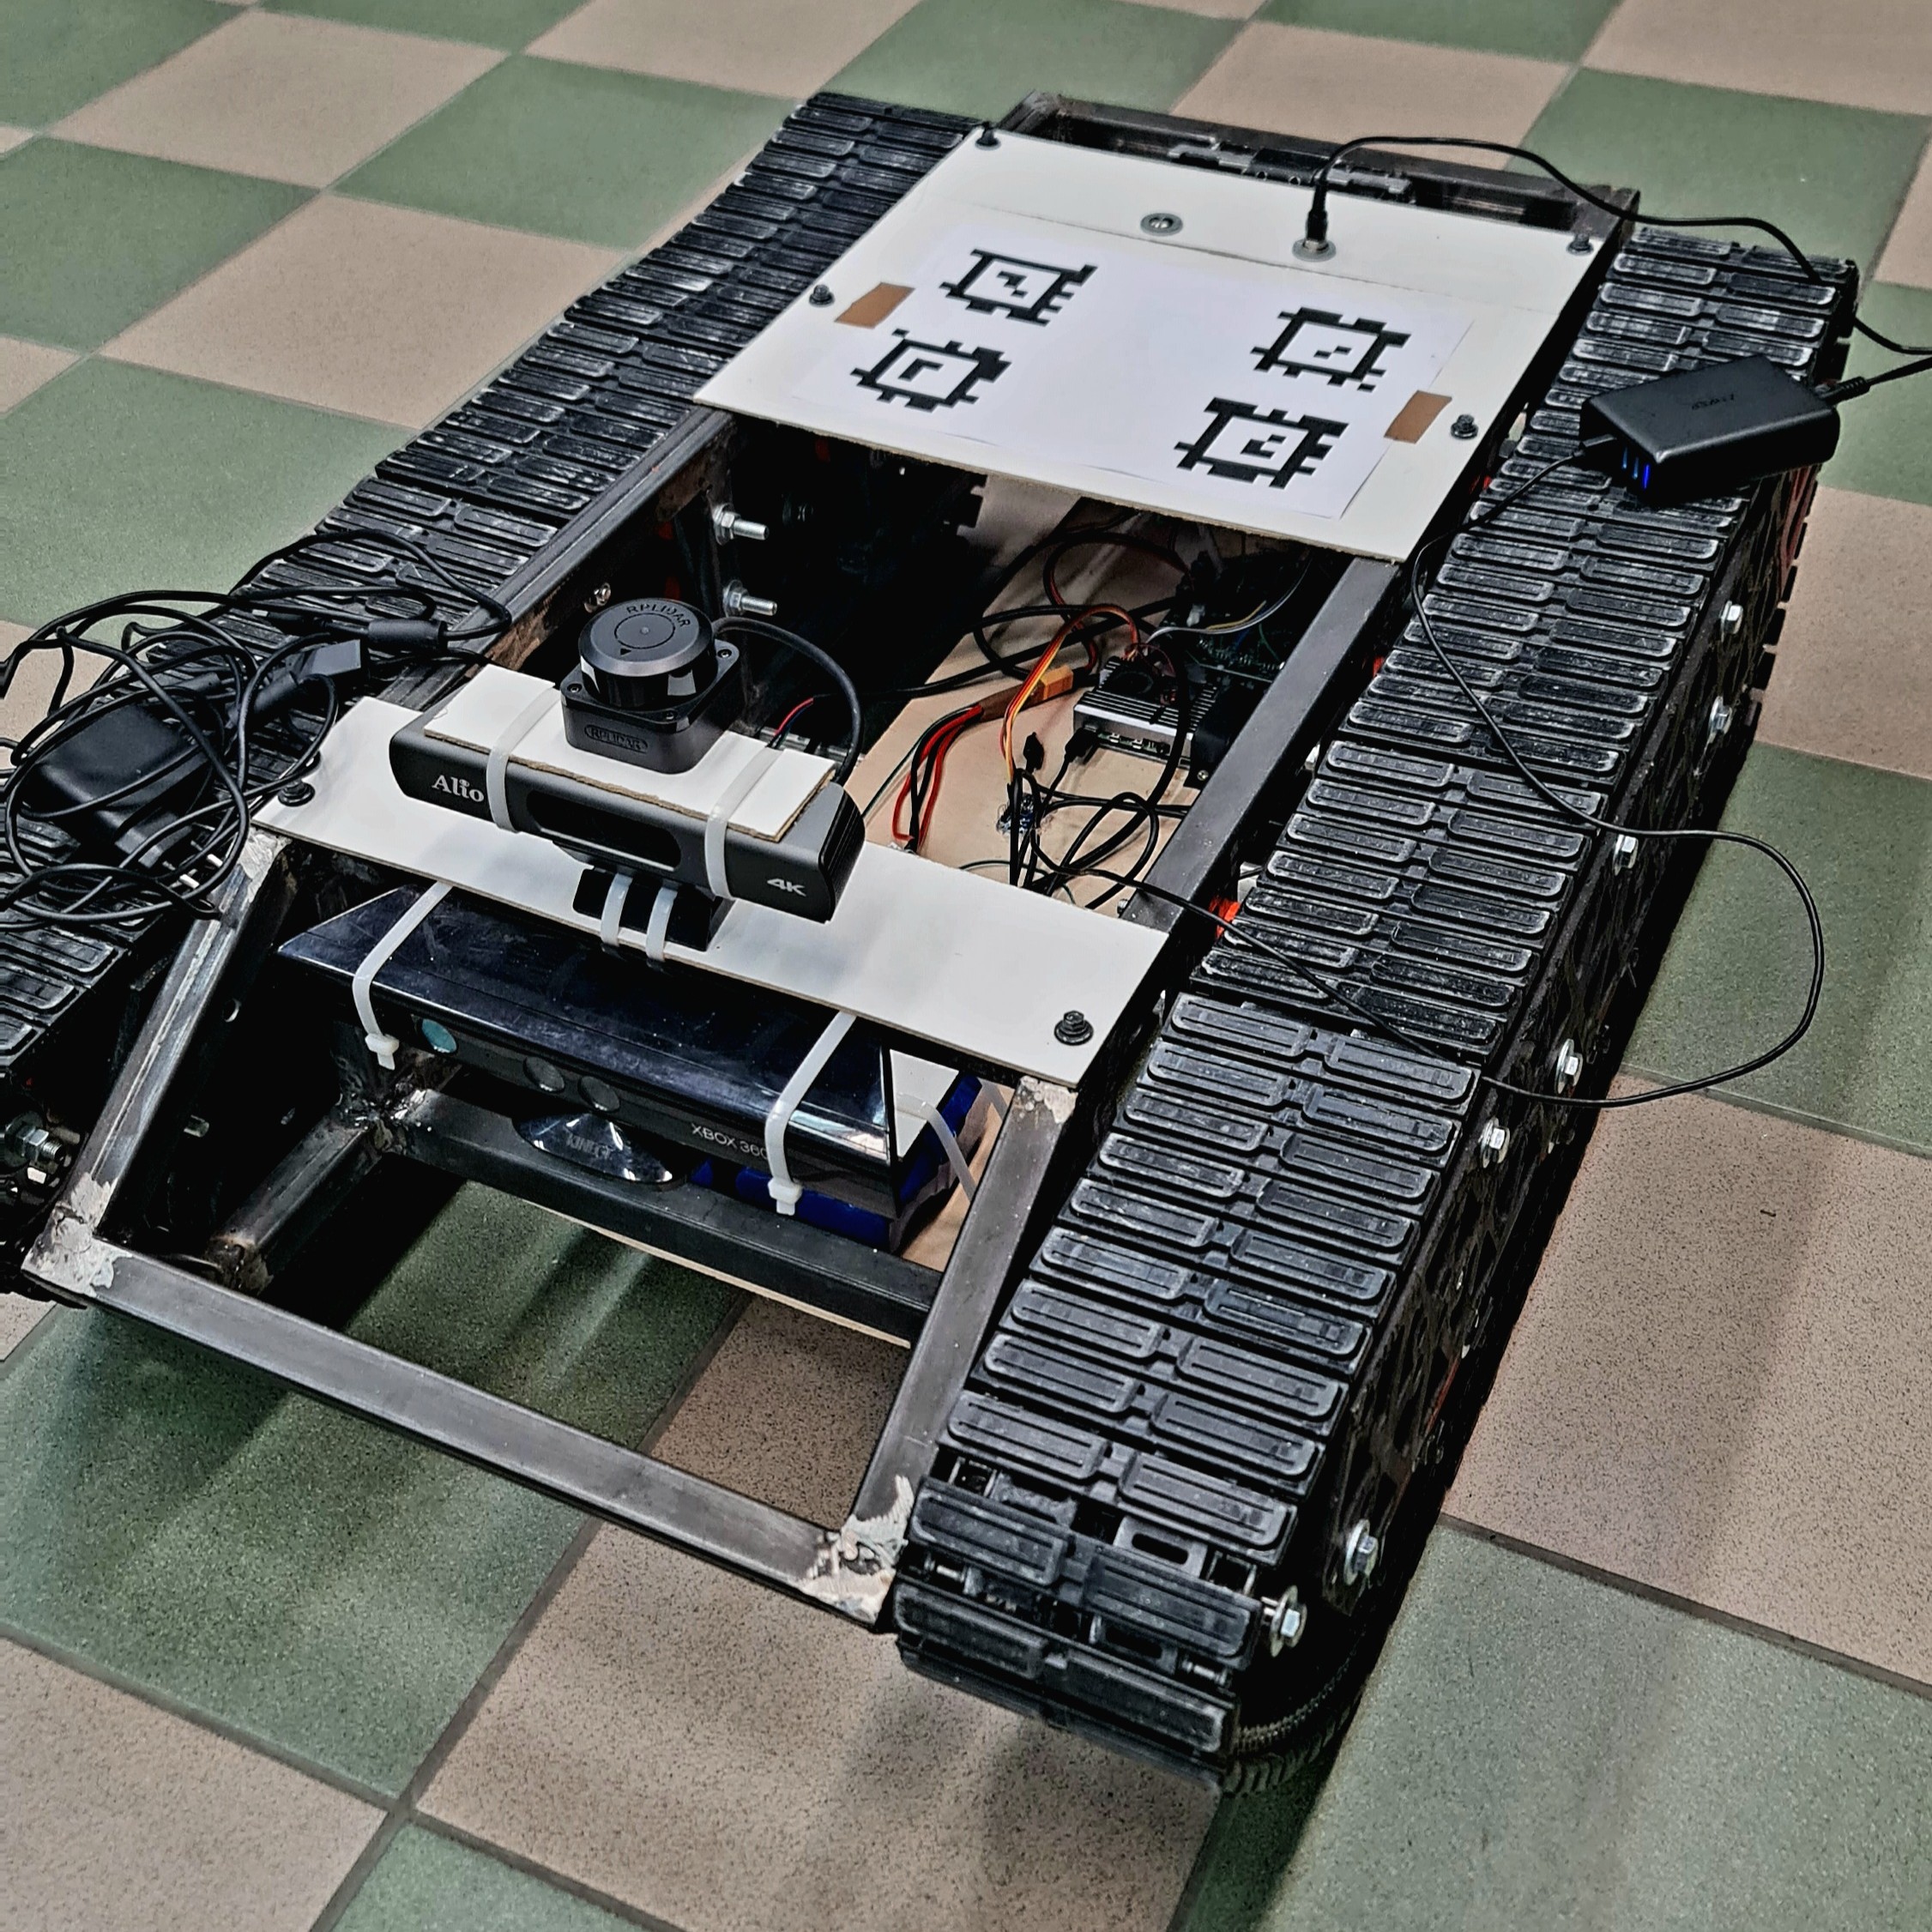
Project log for a large robot tank platform that I built. Part 2 covers construction and assembly of the tank.
CONTENTS
See Also: Part 1 - Design Process
Construction
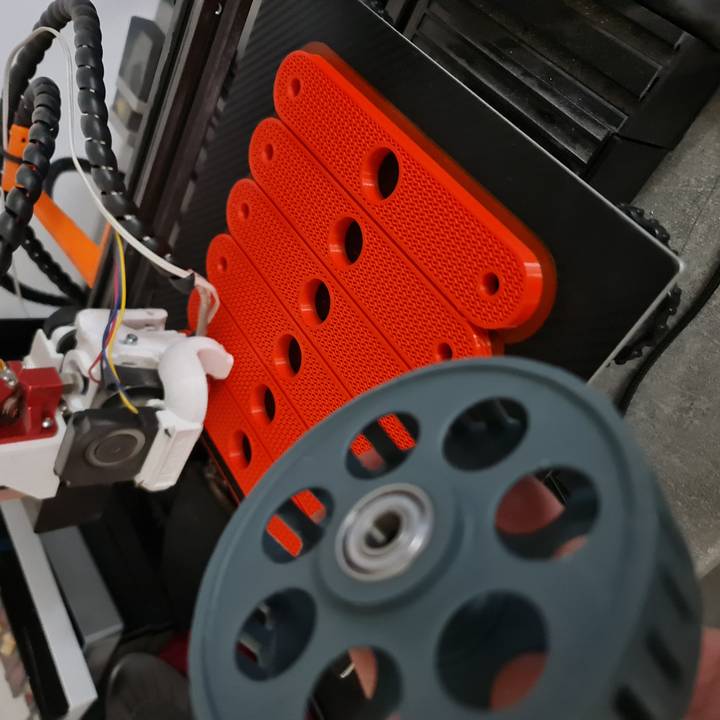
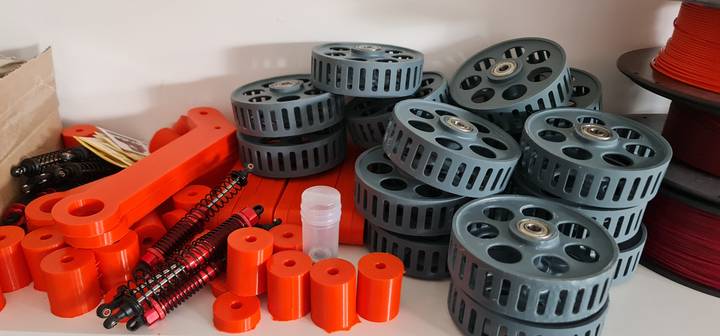
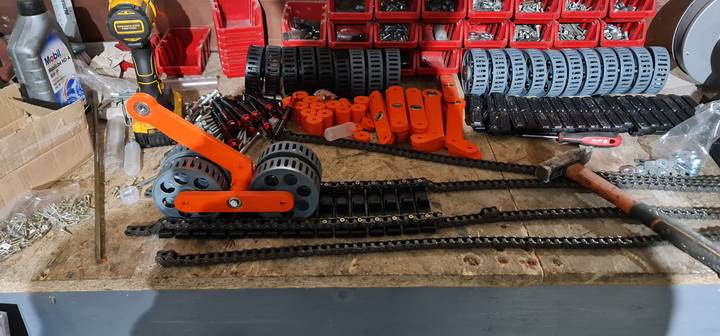
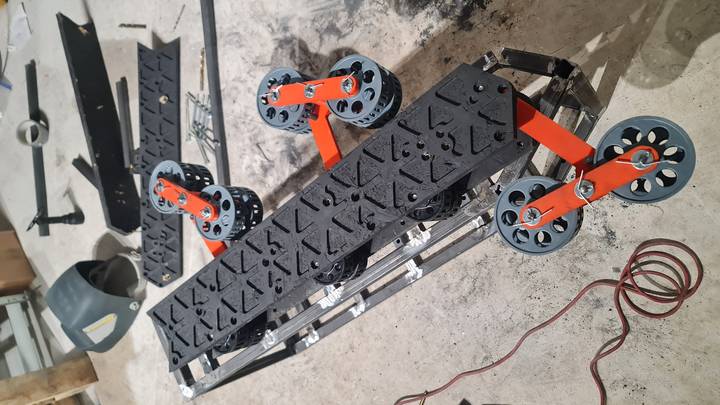
For most of the parts, I used both an FDM and a MSLA printer. I used standard PLA for all the parts that are orange, and the rest of the gray/dark gray parts were printed using ABS-like and tough resin.
Printing all these parts went a lot faster than I expected, especially considering I'm still using an old Ender 3 with some upgrades for the FDM.
And soon a bunch of parts began to accrue. I did have some issues printing the wheels with artifacting from the supports, but I figure these will buff out from friction with the tracks over time.
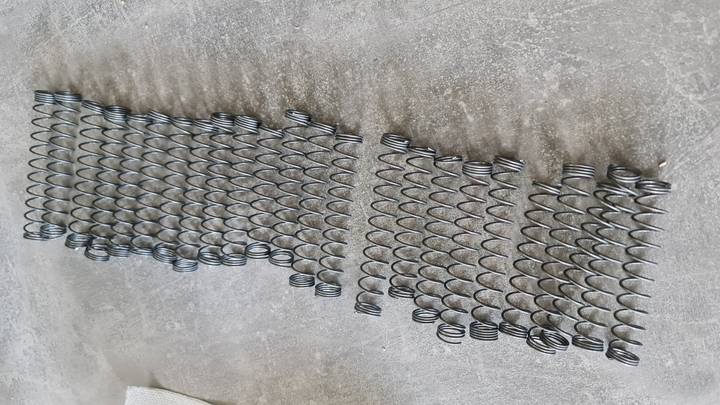
For the suspension springs, I wound a bunch of springs using a drill and just picked the springs that were most equal to each other from the result to use.
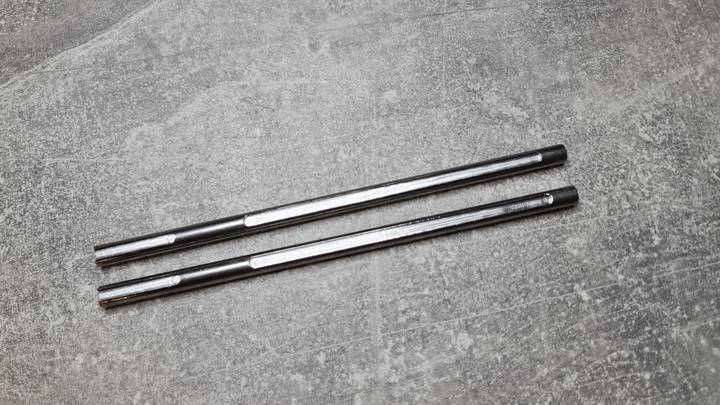
And I machined the keyways into the axles on my router for the axles that connect the the motors to the sprockets. I also machined the side panels for the tank tracks from some OSB that would hold the components and wheels of the tracks together.
Assembly
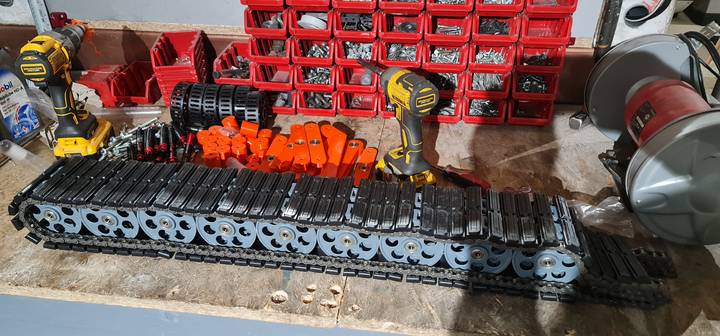
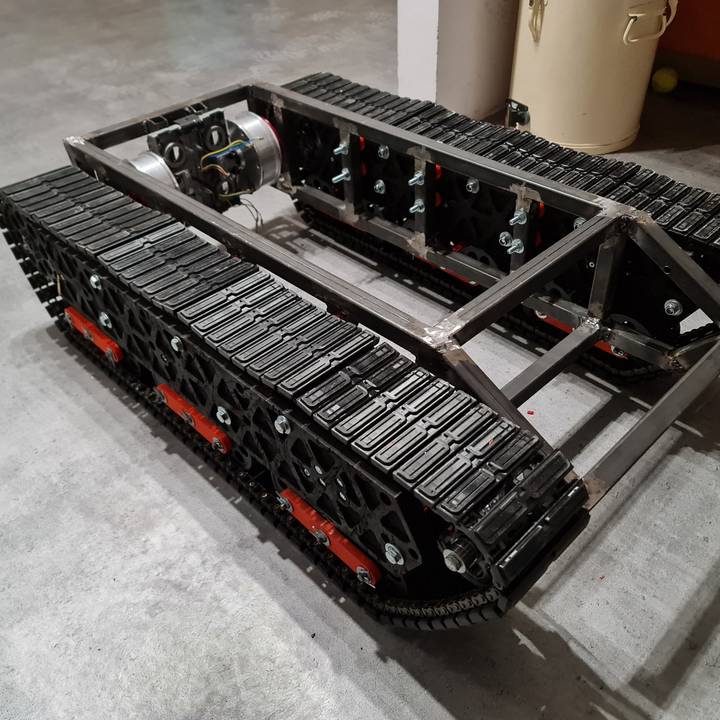
Then I began assembling everything. I used screws to connect the track feet to the chain at every other link. It was somewhat time-consuming, but after a few hours of assembly the shape started to emerge.
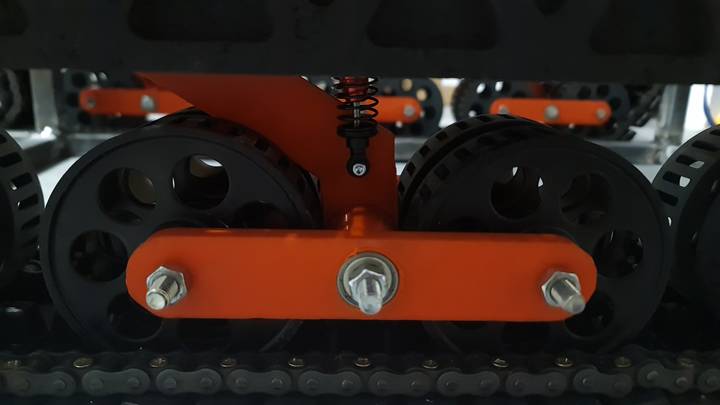
After getting the tracks together, I tested the suspension using the factory springs to see if everything would line up properly and work, and it most certainly did.
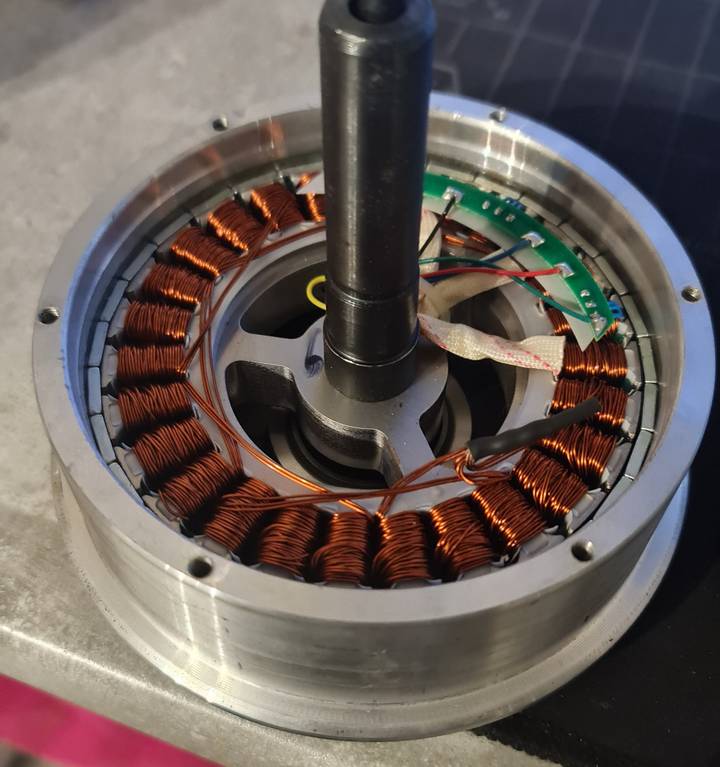
The hoverboard motors are quite interesting inside - I needed to disassemble them and remove the inner windings to access the front face for adding screw holes for the motor couplings without introducing chips into the windings themselves. The windings just pull out with a fair bit of force to overcome the magnets holding it in.
Then I took the frame and test-mounted the side panels to the frame to see if my mounting holes in the side panels that I created in CAD would line up with the monstrosity of welding that I created.
I only have a stick welder here at the moment, and the thin-walled steel tubing proved to be an absolute nightmare to weld nicely together, and I don't have the skill to stick-weld such thin tubing together. That said, even though it doesn't look particularly nice it does hold together quite well and after a little bit of hamming and yanking on the pieces, the frame actually came out quite square as well.
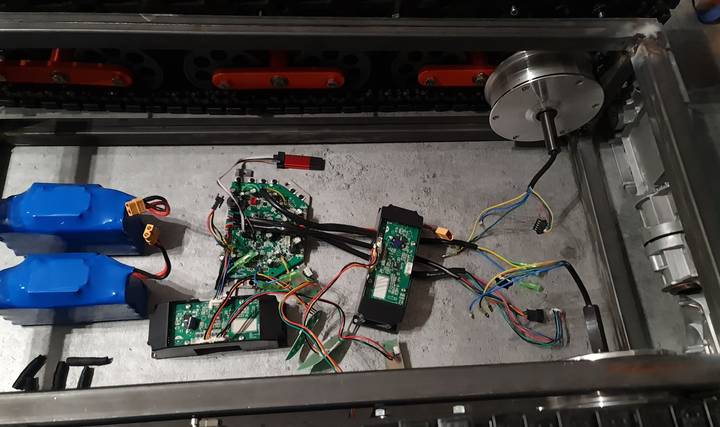
Then it was a matter of determining how I wanted to wire up batteries and other internals - I used a custom hoverboard firmware from Emanuel Feru to set up the controller for the motors, so that I could re-use the hoverboard controller and charging circuitry, and laid out all the pieces in their rough positions to ensure that the wires would be able to reach.
I then cut the old hoverboard mounting brackets into pieces, bolted them together, and mounted them to the back of the robot tank frame, and then test-fit the tracks as well to see if everything lined up. It did, and the robot tank was very nearly together.
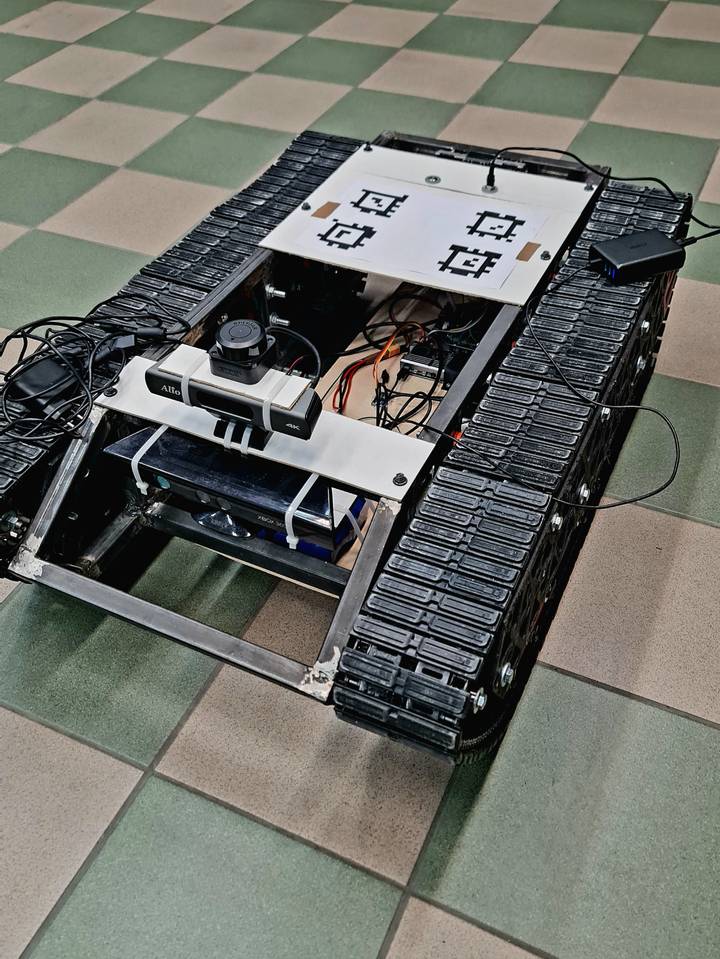
I connected the hoverboard controller to a Raspberry Pi over SPI, and then was able to incorporate many other sensors when using it as a testing platform for other projects.

