CNC Router - Part 1/4
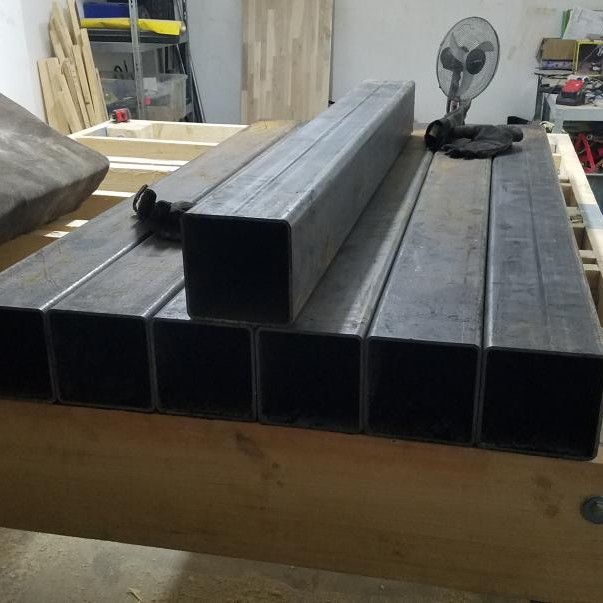
Start of the CNC Machine Journey. Planning, building the table it rests on, and prepping the steel tube.
CONTENTS
This is part of a 4-part writeup
Part 1 - Table and Prep
Part 2 - Construction
Part 3 - Wiring
Part 4 - Tuning and Upgrades
Planning
Originally joined the PrintNC Discord in December 2020 after considering a DIY CNC machine. I had reached out to the Hobby CNC channel on Reddit and had been considering something like a Queen Bee or one of its derivatives, but the people there told me to check out the PrintNC so that I wouldn't be wasting my time. Ended up being a great decision. Some of the original goals for my relatively non-standard build (some of them I've skipped on)
- Z axis clearance of at least 400mm with something placed on the table in-between the frame rails and wasteboard removed. I don't need to machine 400mm down, but some of the engine parts I intend to work on are fairly tall.
- Ability to add a 2nd Z axis to support a low-speed spindle (probably belt-driven)
- Room for adding a 4th axis
- Work area in X/Y of 1250x1250 (half sheet of plywood)
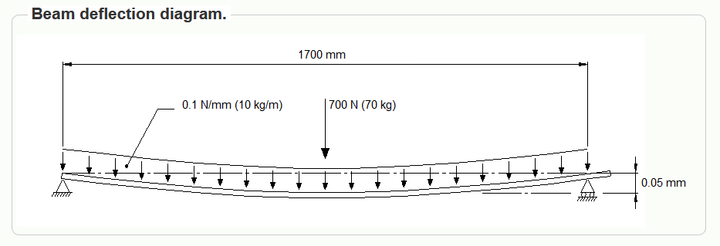
First, I sized up my steel size. I wanted a relatively small deflection for what would be quite a long span, especially if I intended to use a heavy Z axis, so I used the beam deflection calculator from Sunset Patios and a 70kg load as my "test".
Less than 0.05mm theoretical deflection was my goal. I used 1700mm, as with 150x150x5 steel that resulted in a 1350mm span. With a 100mm wide Z axis, that gives me exactly 1250mm of work area in X.
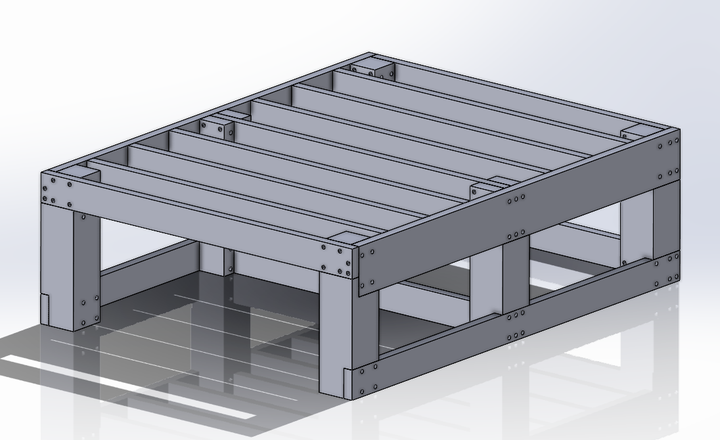
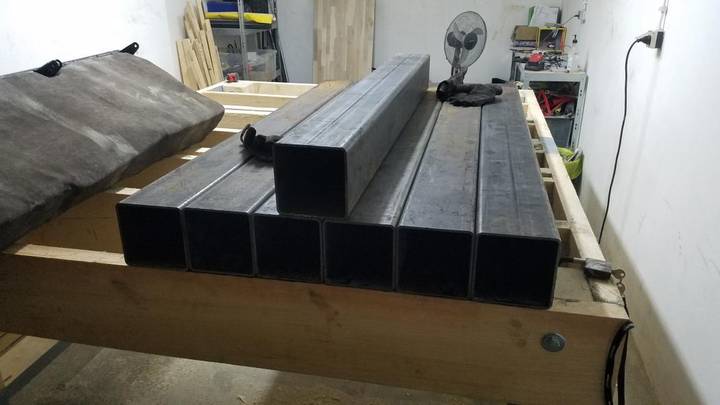
The minimum order for 150x150x5 was a 12m section, which gave me 3 crossmembers, the Y and X pieces, plus rollers, with a little bit left over if I had to redo the rollers. So knowing my machine had a footprint of 1700x1700, I left that aside and designed a workbench of 1900(W)x2450(L)x750mm(H) to give the machine space for drag chains, wires, etc. I adjusted the design later, to double up the joists under where the crossmembers sit, but I didn't update my original design.
Table
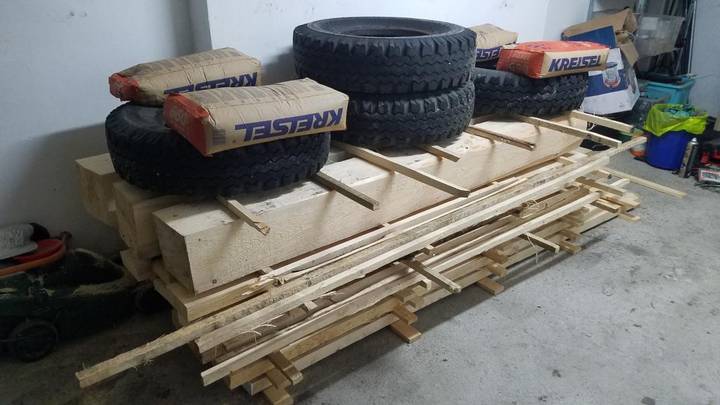
I picked up wood in January 2021 from the sawmill, stacked it up in the garage, and turned on the dehumidifier and fan, as well as the heater to keep ambient temperatures high enough for water to evaporate.
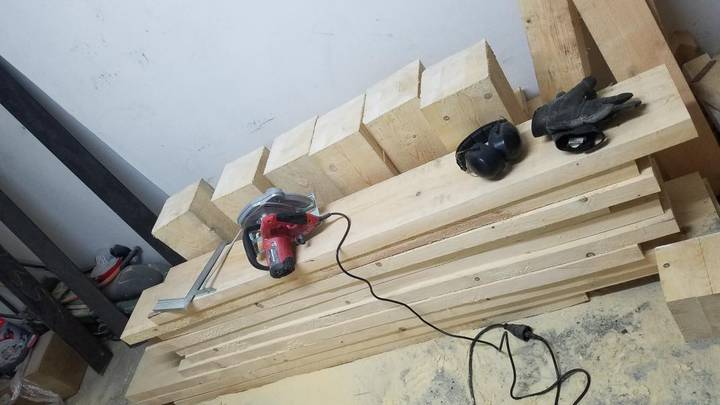
When the wood was dried up months later, I cut it all to size
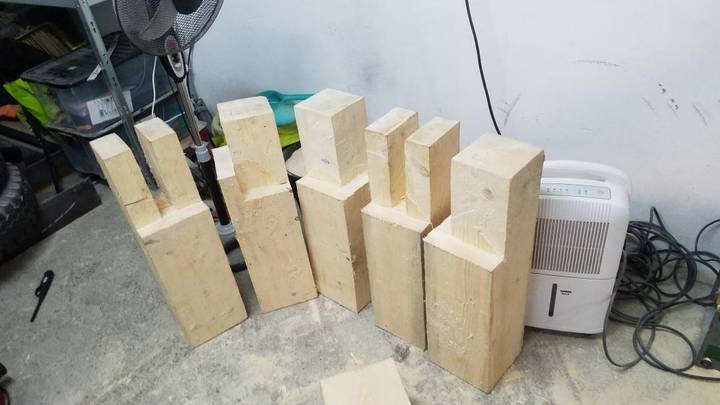
Chiseled out my legs and their joints
And assembled it.
Prepping steel
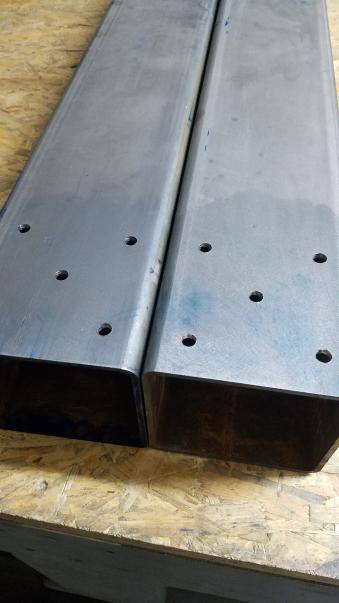
During this time, I also finally got my steel in. Since at the steel yard they cut my steel with an oxy torch and a shaky hand so that I could fit the 12m section into the car for transport, I had them add a few cm to the ends each piece, and managed to find a shop locally who was able to cut my steel to a more exact length using a large bandsaw. They did it after hours for a bottle of alcohol, which was really kind of them.
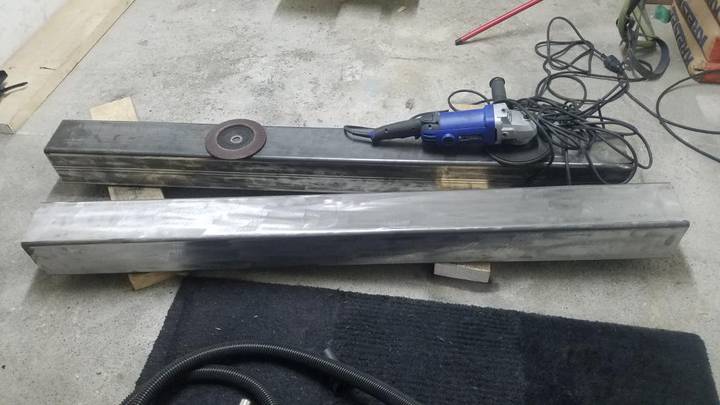
To clean the steel, I originally attempted using a flap disc, but it's absolutely not worth it for removing millscale. I went through several discs and barely made any kind of impact on the steel itself - not to mention it was hard to be consistent.
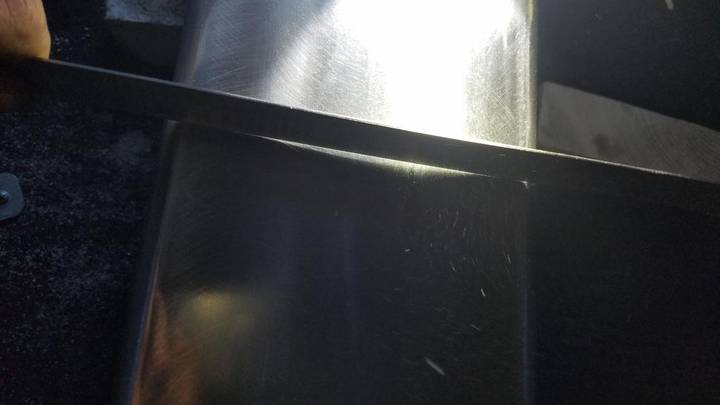
I also wanted to try and square up the faces of my steel, since at this size the internal stress of the steel actually caused a certain amount of inward bowing. In truth, it's mostly irrelevant in a PrintNC build (this is why the rails are all centered), but I wanted to have relatively flat surfaces.
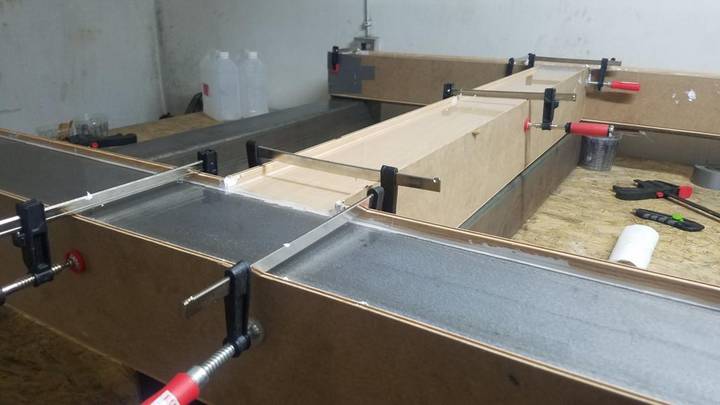
Instead of spending 3/4 of my lifetime trying to sand these faces to what would be a very inexact result, I decided to go with epoxy leveling. Getting the steel machined flat was quite a bit too expensive and to do it right I'd be better to weld additional plate on each face to machine flat instead of the tube itself. To prep for the leveling, I first ended up pickling my steel (covered better on the PrintNC Wiki article), although I didn't take any photos of my own process) I used a dilute mixture of HCL (Hydrochloric acid) and H3PO4 (Phosphoric acid), and since it was quite dilute it took about 30min-1hr per piece.
I then assembled the frame pieces and epoxy leveled my steel.
